For all blog posts on this topic see Simulation Snippets Part 1; Part 2; Part 4 and Part 5
This has been a red-letter week in the simulation suites. This week, I debuted the two most comprehensive simulations I have done so far, so this posting is going to be about the details of preparing a scenario. When we got ‘Frank’ (the high-fidelity Simulator), we also got some pre-packaged simulations from CAE Healthcare. What I really like about these pre-package cases and the CAE software is that the software allows a person to save a particular scenario and then make changes to it. For example, one of the scenarios that we did a dress rehearsal for this week was a complex Diabetes one. In the original, there were five ‘states’. A ‘state’ is a particular state the simulated patient is in for a period of time. The five states in the original were: Initial assessment, Hypoglycemia (low blood sugar), Resolution (of the low blood sugar), Hyperglycemia (high blood sugar) and Discharge. The ordering of these states did not work for me. In the hospital here, a low blood sugar happens most often just before breakfast and before the nurse has had a chance to do her/his patient assessments. So I saved the program and was easily able to re-order and condense two of the states into one. This involved some minor programming changes, but the programming is primarily drag and drop, so it is not complex.
The second scenario we debuted this week was one I had written and programmed. It involved a woman who had just had Hip Replacement surgery. In the five states she experiences, she come back to the floor after surgery, suffers a complication, has to have a blood transfusion, suffers a complication from that which then resolves. The programming I had to do for this was quite complex as I had to program in the vital signs for each of these states along with what the simulator is going to do to recreate the complication. I ended up having software issues during the trial, which persist and are quite frustrating, but by and large, the dress rehearsal with a student went quite well. The student really appreciated how realistic the setting and scenario were. Some of her biggest learning revolved around how focused she became during the complication and blood transfusion. She was so focused on dealing with these new situations, that she forgot to talk to the patient!
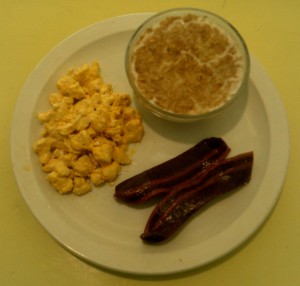
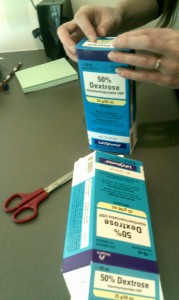
One of the really fun parts of this is the detail work. I am a detail oriented person, with a background in theatre, so doing the props, costumes and make-up is the most fun for me. Truly, this is akin to putting on a theatrical production including all aspects from writing the script, to programming the lighting and sound boards, to stage managing the actual ‘show’. Because we are trying to simulate a clinical setting, I try to have every last detail as close to the original as I can. Beyond having the simulator room look as close to a hospital room as possible, I had to recreate a typical post-operative chart, medication cart, medication administration record, etc. Everything down to the patient identification band was recreated with attention to detail. I even made food for the breakfast and supper trays for the diabetic scenario. I had to have two boxes of dextrose (see picture) but only had one at my disposal. So I broke the box down and had colour photocopies made onto card stock. I then cut them out and folded them into a box. They look better than the originals, even if I do say so myself (with a nod of thanks to the print shop).
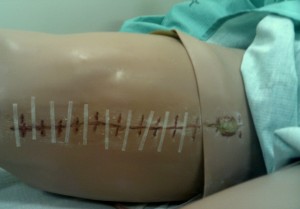
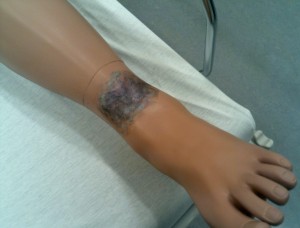
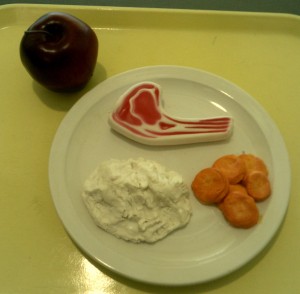
The other fun part you can see in the pictures is the make up or ‘moulage’ as they call it in simulation world. In these pictures, I did the mucky leg incision and Shannon, a master’s student who is working with me did the ankle bruise. Fun, fun, fun! I made the food you see in the pictures as well. The ‘chop’ is a dog’s squeaky toy and the bacon I stole from my dogs’ bag of Beggin Strips. The oatmeal is a mixture of oatmeal, white glue and shellac. The carrots, mashed potatoes and scrambled eggs I made, and then I shellacked the heck out of everything. Even shellacked, the boys were pretty interested in their Beggin Strips. Not sure what that says about the state of Beggin Strips in general. I think it means more about how food motivated my dogs are.
Not to lose site of the purpose of this blog, in my next submission, I will discuss the pedagogy behind doing complex scenarios like those mentioned above. This week though, it was all about the props and makeup.
